How to Use a Survey to Qualify Leads Before the First Call
Not every lead is ready to buy. Some need the work done next week. Others are collecting prices for next year, or need a service you don't offer. When every inquiry gets the same first call, your team spends hours on leads that were never going to close.
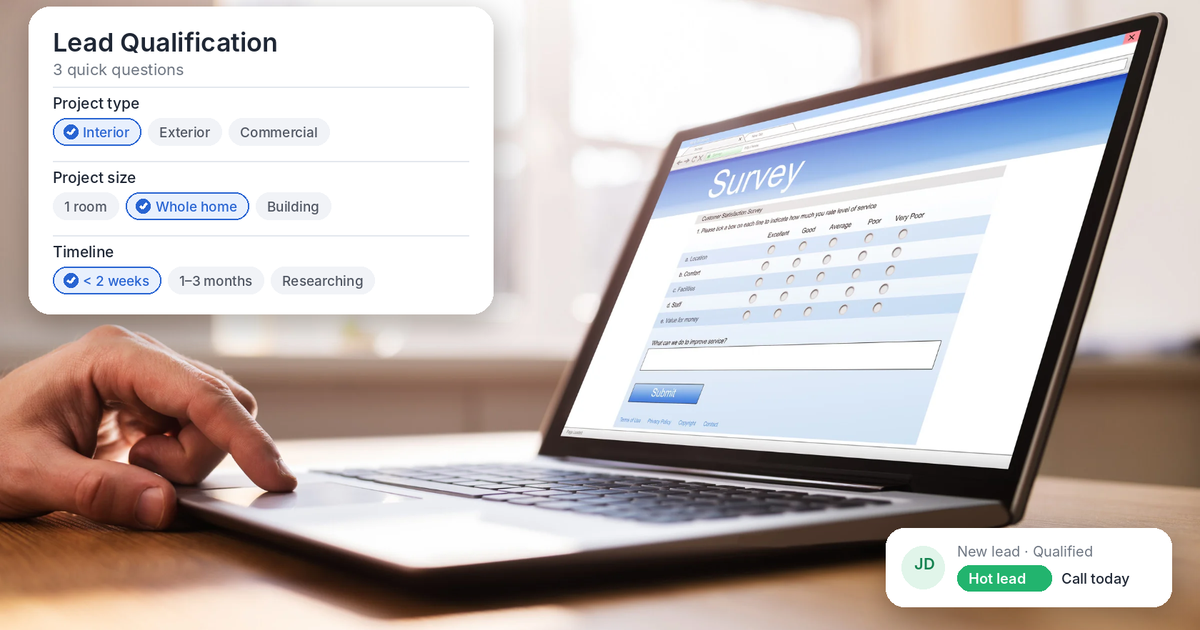
A short survey fixes that. With MarTech by Ajax Union, you can ask a few key questions before the first call, such as the project type, size and timeline, and use the answers to sort your leads automatically. Your best leads get a fast call, and the rest get a helpful follow-up that fits where they are.
Why Use a Survey Instead of a Regular Form
A standard contact form asks everything on one page. A survey shows one short question at a time, which feels easier to finish. Surveys in app.ajaxunion.com also support conditional logic, so each person's answers can decide which question comes next, what message they see at the end, or where they go after submitting.
Step 1: Decide What to Ask
Keep it to four or five questions. Each one should help you decide how to handle the lead. For a service business, these usually cover it:
Contact details: name, phone and email.
Project type: for example, interior, exterior or commercial.
Project size: a simple range, such as one room, several rooms or a whole building.
Timeline: within two weeks, within one to three months, or just researching.
Location (optional): a ZIP code or town, so you can check your service area.
Use multiple-choice answers wherever you can. They're faster to tap on a phone, and they make the logic in the next steps reliable.
Step 2: Build the Survey
Log in at app.ajaxunion.com.
Go to Sites → Surveys and create a new survey.
Put the contact details on the first slide, so you capture the lead even if they stop partway through.
Add one slide for each qualifying question. Use radio buttons or dropdowns for the answers.
Save each qualifying question to a custom field, so the answers are stored on the contact record and can be used in workflows.
Step 3: Add Conditional Logic
Conditional logic lets the survey respond to each person's answers. To set it up:
In the survey builder, click Conditional Logic.
Click Add New Condition and choose an action.
Set the condition by selecting the field, the state (such as Equal To) and the value.
Save the rule, then add more as needed.
Five actions are available. Here's how each one helps with qualifying:
Jump To: skip questions that don't apply. For example, if someone picks Commercial, jump to a slide that asks about square footage.
Show/Hide Fields: show a follow-up question only when it's relevant.
Display Custom Message: thank people differently. A lead who needs work within two weeks might see, "Thanks! We'll call you today."
Redirect to URL: send your hottest leads straight to your booking calendar to choose a time.
Disqualify Lead: politely end the survey for people you can't help, such as those outside your service area.
Rules run from top to bottom, and the first matching rule decides the end-of-survey action. Put your most specific rules first.
Step 4: Route Leads With a Workflow
The survey sorts leads on the spot. A workflow handles what happens next.
Go to Automation and click + Create Workflow.
Add the Survey Submitted trigger and select your survey.
Add an If/Else step that checks the timeline answer.
For leads who need work soon, add a Hot lead tag, create an opportunity in your pipeline, and send your team an internal notification to call right away.
For leads who are just researching, add them to a helpful email nurture sequence instead.
Save and publish the workflow.
Step 5: Preview, Test and Share
Open the survey preview and go through every path, choosing different answers each time.
Check that the right questions, messages and redirects appear.
Submit a test entry and confirm the workflow tags and routes it correctly.
Add the survey to a page on your website or share its link in ads, emails and texts.
Tips for a Survey People Finish
Keep it short. Every extra question costs you some finishers.
Put the easy questions first. Contact details and project type take seconds.
Explain the benefit. A line like "Answer 4 quick questions and we'll send an accurate estimate faster" gives people a reason to finish.
Disqualify kindly. Thank people you can't help, and point them to a useful resource if you have one.
Spend Your Time on the Right Leads
A qualifying survey means your first call starts with the facts already in hand, and your team's time goes to the leads most likely to say yes. Build it once in app.ajaxunion.com, and let every inquiry sort itself.
Want to see MarTech in action? Book a live demo and our team will walk you through it.
